Easy Meatloaf Recipe Lipton Onion Soup
There’s something special about a dish that brings everyone to the table. A classic favorite, this easy-to-make meal has been a staple in homes for generations. It’s more than just food—it’s a tradition that sparks memories and creates new ones.
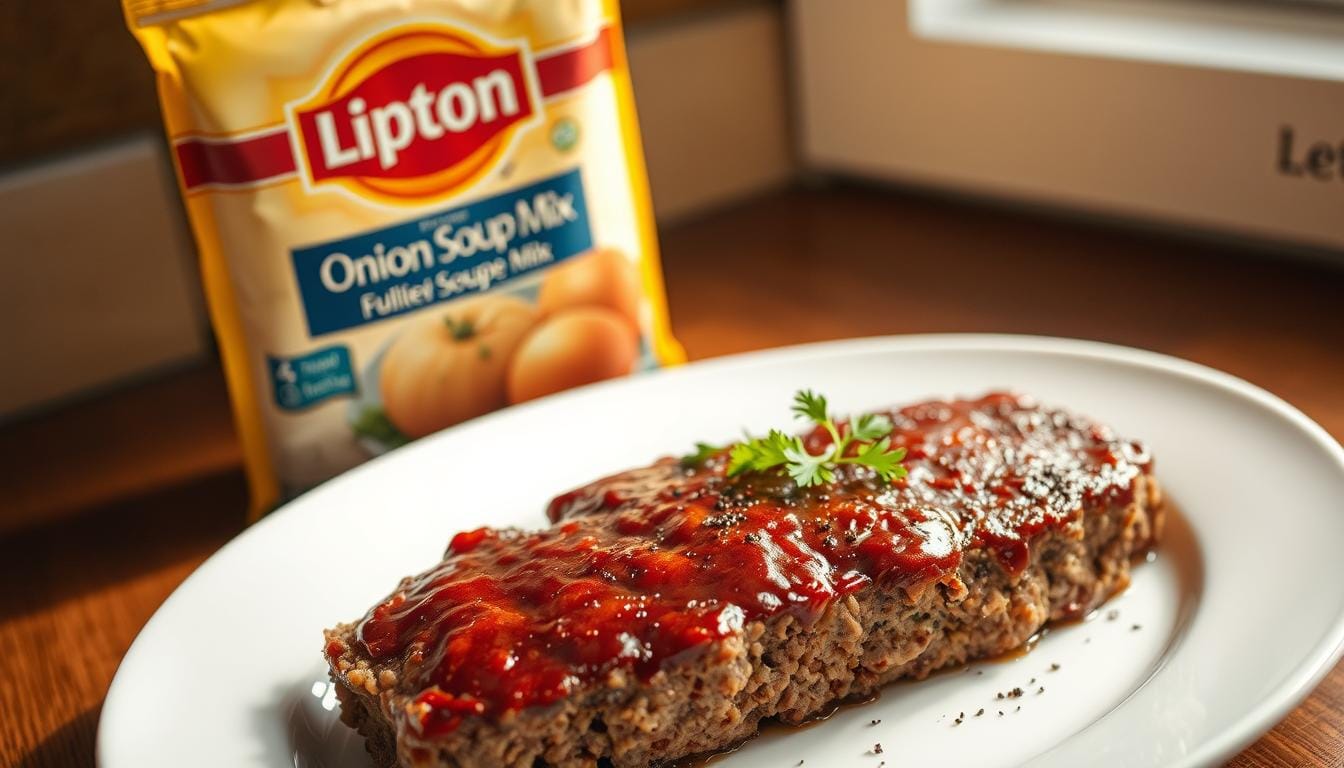
What makes this dish stand out? The secret lies in the flavor-packed Lipton Onion Soup mix. Combined with simple ingredients like ground beef, eggs, and ketchup, it delivers a savory taste that’s hard to resist. Whether it’s a busy weeknight or a cozy family dinner, this recipe is a reliable choice.
Preparing this dish is a breeze. Just mix, shape, and bake. In no time, you’ll have a moist and delicious meal ready to serve. It’s a perfect way to bring comfort and joy to your table.
Key Takeaways
- This dish is a timeless classic loved by families for generations.
- The Lipton Onion Soup mix adds rich, savory flavor effortlessly.
- Simple ingredients make it easy to prepare and cook.
- Perfect for weeknight dinners or special family gatherings.
- Delivers a moist and delicious result every time.
Introduction to a Family-Favorite Dish
Few dishes have stood the test of time like this beloved comfort food. Its roots trace back to the late 19th century, with early recipes appearing in cookbooks as far back as 1875. Over the years, it has evolved into a family tradition, passed down through generations and cherished for its simplicity and heartiness.
What makes this dish so enduring? Its ability to bring people together. Whether it’s a weeknight dinner or a special occasion, it’s a meal that sparks joy and nostalgia. The addition of ingredients like Worcestershire sauce adds depth, while the Lipton Onion Soup mix brings a unique savory twist that sets it apart.
Background and History of Meatloaf
This dish has a rich history, with its modern form emerging in the late 1800s. Early recipes often included simple ingredients like ground beef, breadcrumbs, and seasonings. By the 1930s, it became a staple in American households, thanks to its affordability and versatility.
Old cookbooks, like the 1936 General Electric Kitchen Institute edition, featured variations of this dish, cementing its place in culinary history. Over time, it has remained a favorite, adapting to new tastes while staying true to its comforting roots.
Why This Recipe Stands Out
What sets this version apart is its flavor-packed simplicity. The Lipton Onion Soup mix enhances the dish with a rich, savory taste, while subtle additions like Worcestershire sauce add complexity. It’s a recipe that’s easy to prepare yet delivers a result that feels special.
This dish isn’t just about the ingredients—it’s about the memories it creates. From family gatherings to quiet dinners, it’s a meal that brings people together. As you prepare to dive into the details of making it, remember that you’re continuing a tradition that has warmed hearts for generations.
Essential Ingredients and Tools for Success
Every great meal starts with quality ingredients and the proper equipment. To create a dish that’s both flavorful and satisfying, you’ll need a few key components. Let’s break down what you’ll need to ensure success.
Key Ingredients Overview
The foundation of this dish is 2 pounds of lean ground beef. It provides the base for the texture and flavor. Next, you’ll need 1 envelope of onion soup mix, which adds a savory depth that’s hard to beat. Don’t forget 2 large eggs to bind everything together.
For added moisture and flavor, include ½ cup of ketchup and ¾ cup of breadcrumbs. These ingredients ensure the dish stays tender and delicious. Optional additions like grated parmesan cheese or diced bell peppers can elevate the flavor even further.
Table of Contents
Must-Have Kitchen Tools and Equipment
Having the right tools makes the process smoother. A loaf pan is essential for shaping the dish and ensuring even cooking. If you don’t have one, a baking dish will work, but the loaf pan helps maintain the classic shape.
You’ll also need a mixing bowl large enough to combine all the ingredients thoroughly. Measuring cups and spoons are crucial for accuracy, especially when adding the soup mix and other seasonings. With these tools, you’re ready to create a dish that’s both flavorful and perfectly textured.
Now that you’ve gathered everything, you’re ready to move on to the next step: preparing and baking your dish to perfection.
Step-by-Step Guide to Preparing the Meatloaf
Creating a flavorful dish doesn’t have to be complicated. Follow these simple steps to prepare a meal that’s both delicious and satisfying. With the right techniques, you’ll achieve a perfect result every time.
Prepping and Mixing the Ingredients
Start by preheating your oven to 350°F. While it heats, lightly grease your pan to prevent sticking. In a large bowl, combine 2 pounds of ground beef with 1 envelope of soup mix, 2 beaten eggs, and ¾ cup of breadcrumbs. Add 2 tablespoons of Worcestershire sauce for extra depth.
Mix the ingredients gently with your hands. Avoid overmixing to keep the texture tender. Once combined, shape the mixture into a loaf and place it in the prepared pan.
Baking Techniques and Temperature Tips
Spread a thin layer of ketchup over the top for a flavorful glaze. Bake in the preheated oven for 50-60 minutes. Use a meat thermometer to check the internal temperature, which should reach 165°F for safety.
Once baked, let the dish rest for 10 minutes before slicing. This allows the juices to redistribute, ensuring a moist and flavorful result. Serve warm and enjoy!
meatloaf recipe lipton onion soup: Variations and Pro Tips
Customizing your favorite comfort food can make it even more enjoyable and suitable for your dietary needs. Whether you’re looking for a healthier option or want to experiment with flavors, there are plenty of ways to tweak this classic dish without losing its essence.
Substitution Ideas for a Healthier Option
If you’re aiming for a leaner version, consider swapping half of the ground beef for ground turkey. This reduces fat content while keeping the dish moist and flavorful. Adding grated parmesan or diced bell peppers can enhance texture and taste without extra calories.
For those watching their sodium intake, use low-sodium breadcrumbs and reduce the amount of soup mix. You can also add fresh herbs like parsley or thyme for a burst of flavor without relying on salt.

Creative Ways to Use Leftovers
Leftovers can be just as delicious as the original meal. Slice them thin and use them in sandwiches with a bit of mustard or mayo. Alternatively, crumble them into a salad for a protein-packed lunch option.
You can also repurpose leftovers into a hearty breakfast by pairing them with scrambled eggs or hash browns. The possibilities are endless, and these ideas ensure nothing goes to waste.
Pro Tips for Flavorful Variations
Experiment with different glazes to keep things interesting. A mix of barbecue sauce and honey creates a sweet and tangy topping. For a spicy twist, try a Sriracha and ketchup blend.
When adjusting ingredients, remember to taste as you go. This ensures the final dish stays true to its comforting roots while reflecting your personal preferences.
| Variation | Benefits |
|---|---|
| Ground Turkey | Lower fat content, leaner option |
| Extra Vegetables | Adds nutrients and texture |
| Low-Sodium Breadcrumbs | Reduces sodium intake |
| Barbecue Glaze | Sweet and tangy flavor |
Cooking Techniques and Best Practices
Mastering the art of cooking this classic dish requires attention to detail and the right techniques. By following a few simple steps, you can ensure a tender, flavorful result every time. Let’s dive into the best practices that make all the difference.
Why Overmixing Can Ruin Your Dish
One of the most common mistakes is overmixing the mixture. When you handle the ingredients too much, it can lead to a dense or dry texture. Instead, gently fold the components together until just combined. This keeps the loaf tender and moist.
Creating the Perfect Glaze and Crust
A crisp, flavorful glaze adds the finishing touch to your dish. Spread a thin layer of sauce over the top before baking. For a deeper flavor, mix ketchup with Worcestershire sauce or honey. This creates a sweet and tangy topping that caramelizes beautifully in the oven.
If the glaze starts to darken too quickly, loosely lay a piece of foil over the top during the final 15 minutes of baking. This prevents burning while allowing the inside to cook evenly.
Resting and Slicing for the Best Results
Once baked, let the dish rest for 10 minutes before slicing. This allows the juices to redistribute, ensuring a moist and flavorful slice. Cutting too soon can cause it to crumble, so patience is key.
By following these techniques, you’ll achieve a dish that’s not only delicious but also visually appealing. From the tender texture to the golden crust, every bite will be a testament to your cooking skills.
Serving Suggestions and Complementary Sides
The perfect dinner isn’t just about the main course—it’s about the harmony of flavors on your plate. Pairing your dish with the right sides can transform a simple meal into a memorable dining experience. Whether you’re serving a hearty slice or shaping a balanced plate, the right accompaniments make all the difference.

Recommended Side Dish Pairings
When planning your meal, consider sides that complement the texture and flavor of your dish. Here are some ideas to inspire your next dinner:
- Mashed Potatoes: Creamy and smooth, they’re a classic pairing that balances the dish’s richness.
- Steamed Vegetables: Add a fresh, crisp contrast to your plate.
- Garlic Bread: A warm, buttery slice enhances the meal’s savory notes.
- Green Salad: Light and refreshing, it rounds out the flavors beautifully.
For a creative twist, try roasted Brussels sprouts or air-fried onion rings. These options add a crispy texture that pairs wonderfully with the dish’s tender shape.
Presentation matters too. Arrange each slice neatly on the plate, and garnish with fresh herbs for a polished look. A well-plated meal not only tastes great but also feels special.
Finally, don’t forget to balance flavors. A tangy coleslaw or a sweet glaze on carrots can add depth to your dinner. With these tips, you’ll create a meal that’s as visually appealing as it is delicious.
Leftover Ideas and Reheating Tips
Making the most of your leftovers can turn a simple meal into a week of delicious dishes. With proper storage and a bit of creativity, you can enjoy your favorite flavors in new and exciting ways. Here’s how to keep your meals fresh, safe, and full of flavor.
Storing Safely for Freshness
To maintain the quality of your leftovers, store them in an airtight container in the refrigerator. This keeps them fresh for up to 3-4 days. For longer storage, wrap portions tightly in plastic wrap or foil and freeze them for up to 3 months. Labeling with the date ensures you use them within the recommended time frame.
When reheating, ensure the internal temperature reaches 165°F to guarantee safety. Use a microwave, oven, or stovetop, but avoid overcooking to prevent dryness. Adding a splash of water or broth can help retain moisture.
Creative Ways to Repurpose Leftovers
Transform your leftovers into entirely new meals with these ideas:
- Sandwiches: Slice thinly and layer with your favorite condiments and veggies for a quick lunch.
- Tacos: Crumble and mix with chili powder for a flavorful taco filling.
- Salads: Add crumbled pieces to a green salad for a protein boost.
- Casseroles: Incorporate into a breakfast casserole or shepherd’s pie for a hearty meal.
| Storage Method | Duration | Reheating Tip |
|---|---|---|
| Refrigerator | 3-4 days | Add broth to retain moisture |
| Freezer | Up to 3 months | Thaw overnight before reheating |
By following these tips, you can enjoy your leftovers in fresh and delicious ways. Whether it’s a quick sandwich or a reinvented casserole, your meals will stay exciting and satisfying.
Conclusion
Bringing a classic dish to your table has never been easier or more rewarding. This family favorite combines simple ingredients like ground beef and breadcrumbs with a savory twist that everyone will love. In just over an hour, you can create a meal that’s both comforting and delicious.
What makes this dish stand out is its ease of preparation. With minimal effort, you can achieve a moist and flavorful result. Don’t forget to let it rest before slicing—this ensures it stays tender and doesn’t crumble.
Feel free to experiment with variations to suit your taste. Whether it’s adding extra vegetables or trying a different glaze, the possibilities are endless. Share this dish with family and friends, and enjoy the smiles it brings to the table.
Leftovers? No problem. They can be transformed into sandwiches, salads, or even breakfast options. This dish is a true testament to the joy of home cooking. Give it a try and create your own delicious memories!