Smoked Salmon Brine Recipe: Easy Steps for a Delicious Cure
Have you ever wondered how to achieve that perfect balance of flavor and texture in your fish? The secret lies in the curing process, and a smoked salmon brine recipe can be a great way to enhance those flavors.
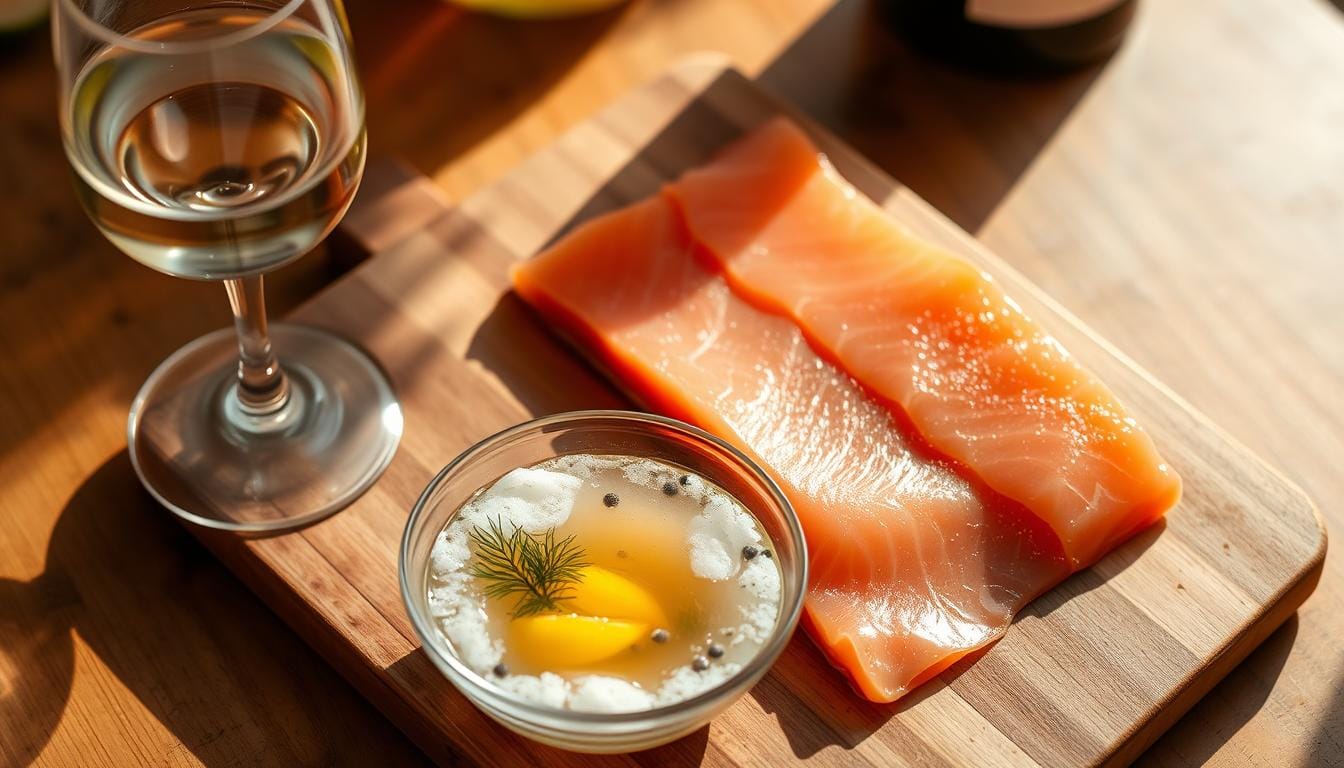
Curing with salt and water not only preserves the fish but also enhances its natural flavors. The key is to follow a precise method, ensuring the fish cures perfectly without becoming too salty. Whether you’re a beginner or a seasoned cook, this guide will walk you through the essentials.
You’ll learn how to mix the ingredients, choose the right container, and determine the ideal curing time. With these steps, you’ll be able to create a dish that’s both delicious and impressive. Let’s dive into the details and get started on your next culinary adventure, including a tasty smoked salmon brine recipe to add a delicious twist to your fish.
Key Takeaways
- Learn an easy, step-by-step method to prepare your fish cure.
- Understand the importance of using the right ingredients and curing times.
- Discover how curing enhances flavor and preserves the fish.
- Get clear guidance on timing to ensure perfect results.
- Follow best practices for using non-reactive containers like plastic or glass.
Getting Started with Your Smoked Salmon Brine Recipe
The foundation of a great cure lies in precise preparation and quality components. Before diving into the process, you’ll need to gather the right tools and ingredients. This ensures your dish turns out flavorful and perfectly cured.
Table of Contents
Gathering Your Ingredients
Start by collecting all the necessary items. You’ll need kosher salt, sugar, and water as the base of your cure. Measuring each ingredient accurately is crucial. For example, use a cup of sugar and a cup of salt for the right balance.
High-quality ingredients make a significant difference. Opt for fresh fish and avoid substitutes. This ensures the final flavor is spot-on. Here’s a quick reference table for measurements:
| Ingredient | Measurement |
|---|---|
| Kosher Salt | 1 cup |
| Sugar | 1 cup |
| Water | 4 cups |
Assembling Your Brine Setup
Once your ingredients are ready, mix them thoroughly. Combine the dry components first, then add liquids like water. Stir until everything dissolves completely. This creates a consistent mixture for your fish.
Use a non-reactive container, such as glass or plastic. This prevents unwanted flavors from leaching into your cure. Ensure the fish is fully submerged in the mixture. Set a timer for the recommended hours to achieve the best results.
By following these steps, you’ll create a flavorful and perfectly cured dish. Take your time and enjoy the process!
Essential Brining Techniques for Flavorful Salmon
Achieving the perfect cure is all about timing, temperature, and precision. Whether you’re using a smoker or preparing your fish for storage, these techniques ensure optimal flavor and texture.

Time and Temperature Guidelines
The curing time depends on the thickness of your fillet. Thin cuts may need as little as 3 hours, while thicker pieces can take up to 36 hours. Always monitor the process to avoid over-curing.
Temperature is equally important. Keep your curing environment below 40°F to prevent bacterial growth. When using a smoker, maintain a low heat setting to avoid overcooking the fish.
“The key to a perfect cure is patience and precision. Rushing the process can lead to uneven results.”
Mixing the Perfect Brine
Start by combining kosher salt and sugar in a 1:1 ratio. Add water gradually, stirring until the mixture dissolves completely. This ensures an even distribution of flavors.
For added depth, consider incorporating herbs or spices. A well-mixed brine enhances the natural fat and protein in the fish, locking in moisture and flavor.
Once your brine is ready, submerge the fish fully. Set a timer and check the progress every few minutes to ensure consistent curing.
Smoking Your Salmon: Pellicle Formation and Flavor Enhancement
The final step in perfecting your dish involves mastering the art of smoking and flavor enhancement. This stage is crucial for achieving the right texture and taste. By focusing on pellicle formation, heat control, and basting, you can elevate your dish to a new level.

Achieving the Ideal Pellicle
After brining, drying your fish is essential to form a pellicle. This thin, tacky layer helps the smoke adhere better, enhancing the flavor. Place your fish on a rack in a cool, dry area or use a fan to speed up the process. For best results, let it dry in the refrigerator for 1-2 hours.
Pat the fish dry before placing it on the rack. This ensures even drying and prevents excess moisture. A well-formed pellicle is the foundation for a flavorful finish.
Controlling Heat and Smoke Levels
Maintaining the right temperature is key. Keep your smoker between 150°F and 180°F for optimal results. A small, controlled fire ensures gradual heat buildup. Place ice in the drip pan to regulate the temperature and prevent overcooking.
“Low and slow is the mantra for perfect smoking. Rushing the process can lead to uneven results.”
Use a cup kosher measure to maintain consistency in your seasoning. This ensures the flavor is balanced and not overpowering.
Basting and Finishing Touches
Basting adds a final layer of flavor. Use a brown sugar syrup or a tangy sauce to enhance the taste. Apply it periodically during the smoking process. This keeps the fish moist and adds a glossy finish.
Once smoking is complete, let the fish rest on the rack in the refrigerator before serving. This allows the flavors to meld and ensures a perfect texture.
- Dry your fish thoroughly to form a pellicle.
- Control the smoker’s temperature with ice or a small fire.
- Baste with brown sugar or sauce for added flavor.
- Let the fish rest in the refrigerator before serving.
Conclusion
Mastering the art of curing fish is a rewarding way to elevate your culinary skills. From gathering quality ingredients to forming the perfect pellicle, each step plays a vital role in achieving exceptional results. Proper cooling methods, like using a fan or a cold, ventilated space, ensure the flavors set just right.
Storing your cured fish in the refrigerator or freezer extends its shelf life while preserving its rich vitamin content. This process not only enhances flavor but also locks in essential nutrients, making it a healthy choice. By following this course, you can create restaurant-quality dishes at home.
With the right information and techniques, any person can master the cure process. Whether you’re a beginner or an experienced cook, these tips will guide you toward success. Enjoy the journey and savor the delicious results!